

Translated from English by gtranslate.io
This is an old revision of the document!

This page is under construction…
A quick sample:
First, select an activity for which the route will be created. The planner offers two walking, four biking, two driving, one cross-country skiing, and one manual drawing profile.
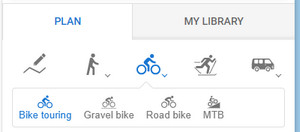
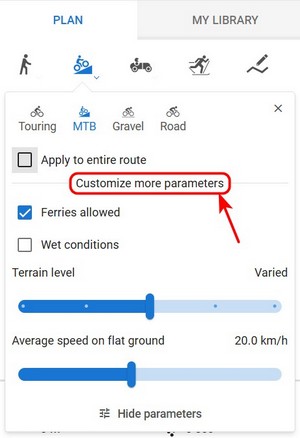
Walking, biking, and driving profiles allow customization of some of the route parameters, the same way as it is in the Android Locus Map app. More info >>
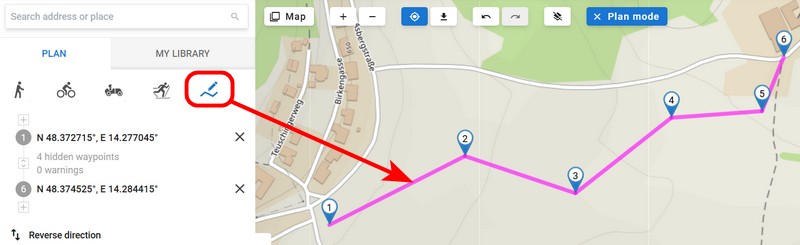
The manual mode is useful when you draw the route in a free terrain or when the routing data for a particular area is missing:
You can select a different routing profile (activity or means of transport) for every route segment, or you can select one profile for the entire route. To select the latter, check the option “Apply to entire route”:
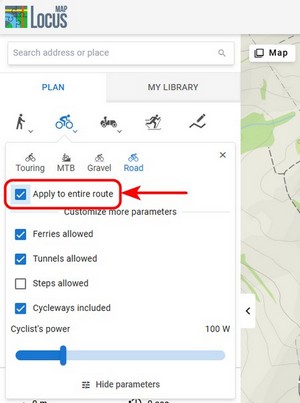
This option is especially important when you need to edit the route - apply to entire route recalculates all route segments.
Create the route the same way as in the app. The simplest way is to click the route points directly on the map on roads and paths. There are two ways to start a route plan:

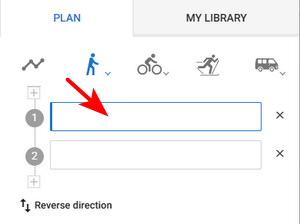
In both cases, the planner switches into drawing mode, and you can add other route points by left-clicking. By shifting the cursor above the route line between the points, a new point emerges, and by dragging it you can change the route progress:
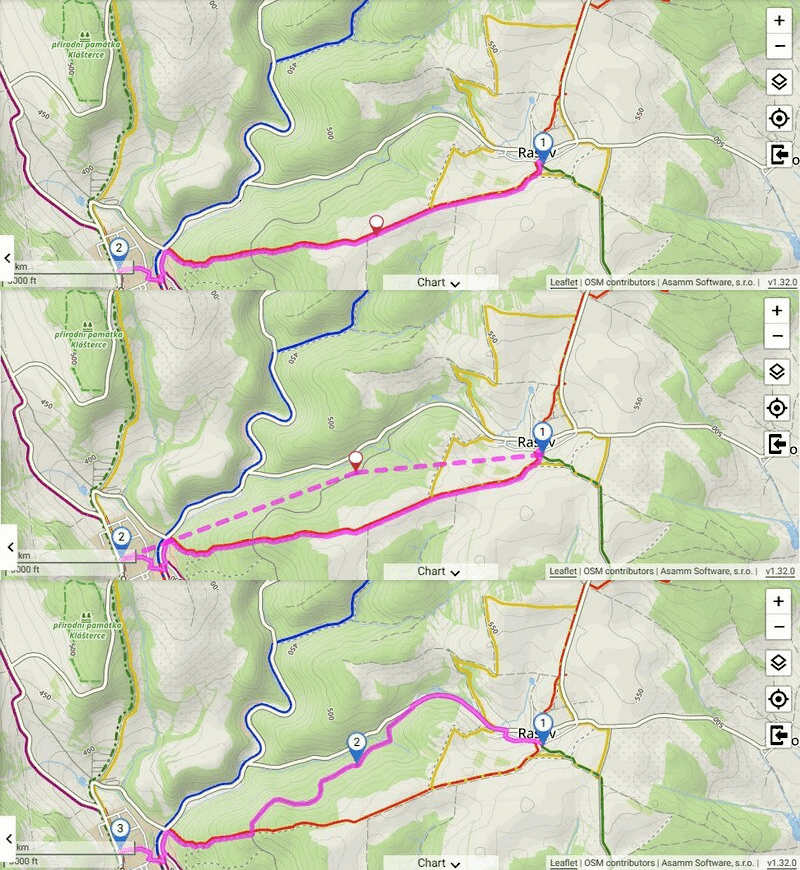 You can move any of the route points at any time and the route always reroutes accordingly.
Simple clicking on the map or shifting the route line inserts shaping points, creating the route. Shaping points are not included in the itinerary after the route is saved, and they are not notified of during navigation.
You can also add LoPoints to your route. Hover the cursor over the LoPoint, and a pop-up appears. Click on Add to route.

The LoPoint is added at the end of the route.
This way, you can also add your user points, like geocaches or search results, to the route:

LoPoints can also be added from the detail panel:

The route points are lined up in an itinerary displayed on the panel on the left. Here you can place the route points at the beginning or inside the route.
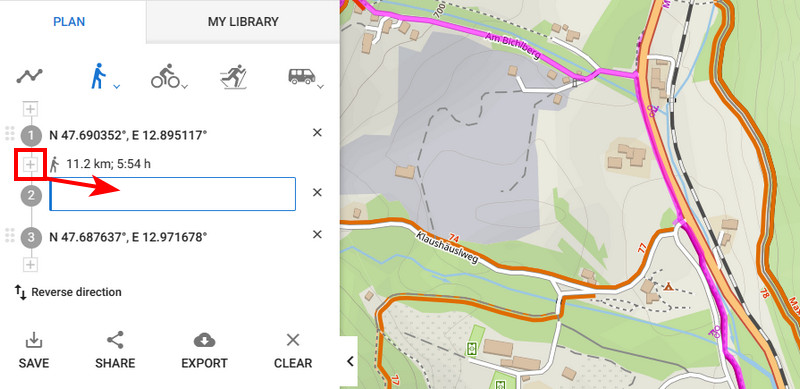
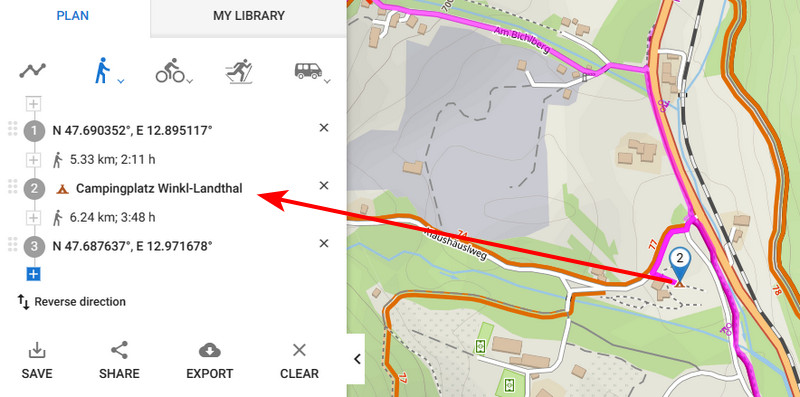
You can change the order of the route points by click-and-drawing them up or down the line (1), delete them (2), or reverse the course of the whole route (3):

To delete the whole route from the planner, tap Clear:

If you want any route point to be announced during navigation, visible on the route chart or in the itinerary, change it to a via point.


When you want to do the opposite, choose shaping point from the selection after tapping the via point, and confirm with the SAVE button.
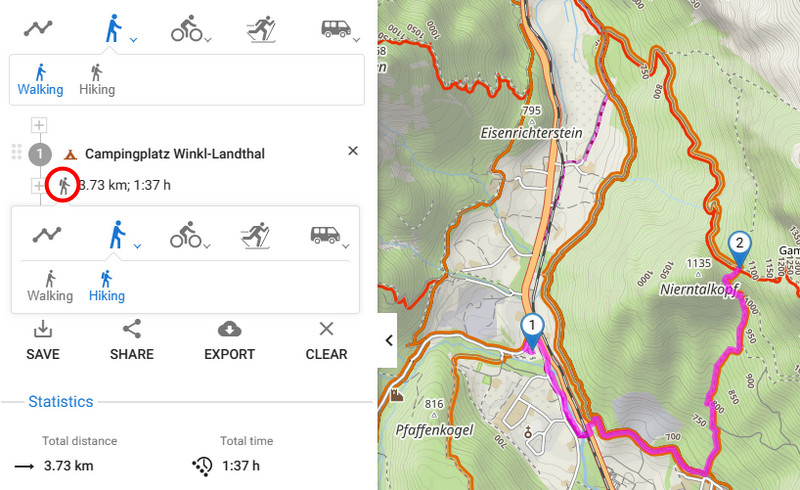
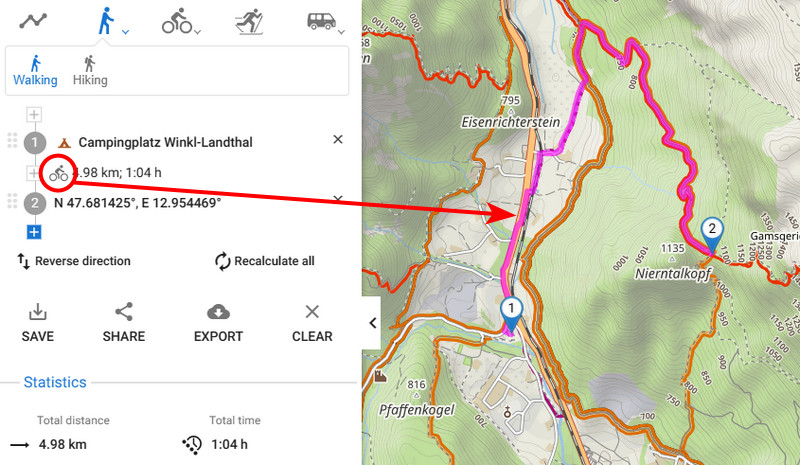
You can fine-tune the route progress by selecting a different activity or means of transport for each route segment.
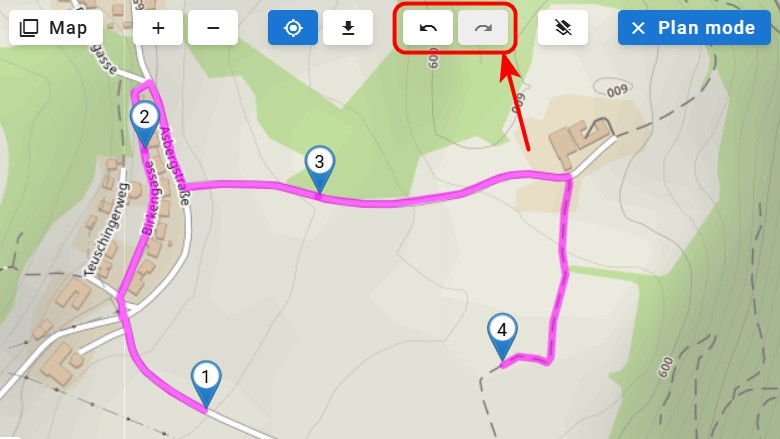
Every action you take during route planning can be reversed and, after reverting, repeated. The undo/redo buttons are in the row of controls in the top-left corner:
Statistics of the route, such as distance, estimated time, or elevation gain, are displayed in the left panel under the itinerary.

The elevation and slope progress of the route is displayed on a chart:
 The chart also displays:

You can change the X-axis parameter to distance or estimated time:

If you want to add your own point that is off the route:


You can also save a LoPoint into your library. Hover the cursor over the LoPoint icon and click save from the pop-up menu:

Available with Premium Gold
You can save the planned route into your library synced with the Locus Map app:

The route is saved into the selected folder in your library and synced with the app after a while.
You can export the route as a GPX file that can be used in any navigation app or service. Click Export and then Download as GPX:
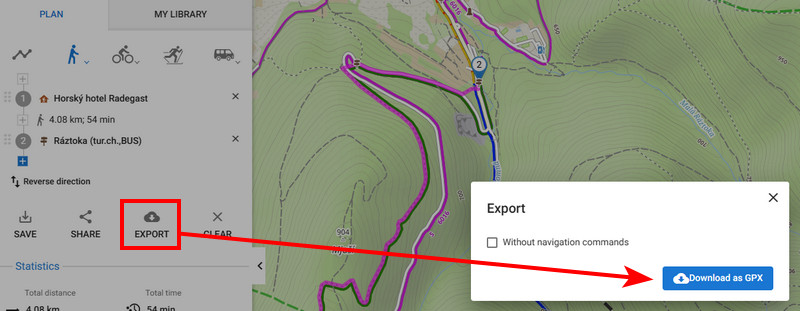
If you don't want to keep the voice navigation commands in the route file, check the option Without navigation commands.
When you have planned a route, tap the Share button. A pop-up emerges, displaying a unique link that can be copied to the clipboard, loaded via QR code, and shared:
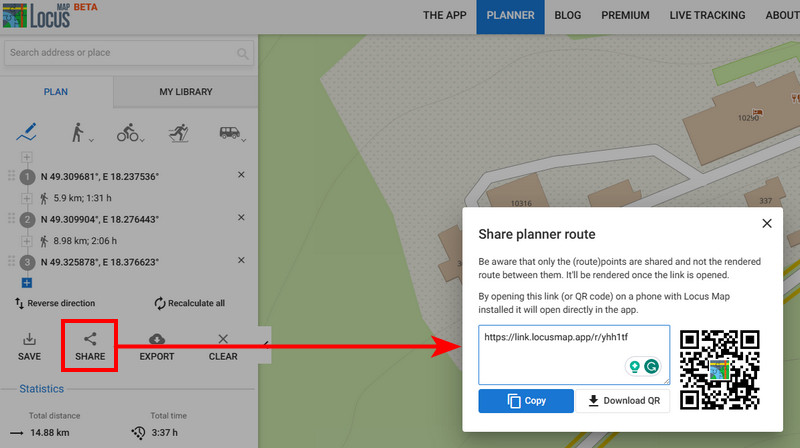 The link contains the waypoints defining the route. When clicked, it opens the Locus web route planner that re-renders the route from them. If you have the browser open on your phone or tablet, the route opens directly in the Locus Map app.
You can also copy the link directly from the web browser address bar.


