Translated from English by gtranslate.io
Sidebar
manual:user_guide:functions:navigation:point-to-point
This is an old revision of the document!
Table of Contents

Navigate to...
The article under development…
Standard voice turn-by-turn navigation. Here's how to use it:
1. Select target
Firstly, you have to tell Locus where you want to go.
Directly on map
The simplest and fastest way.
- tap a LoPoint, a user point or any other point on the map or hold your finger on the place on the map where you want to be navigated to
- tap the navigation button in the bottom bar and select Navigate to
Other location options
When you need to define your target location another way, use location selector:
- tap Menu > Navigate to
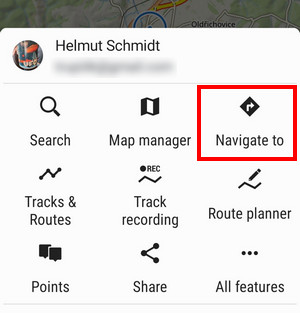
- select method of defining target of your route:

Points from the point manager
Use e.g. in case you want to navigate to some geocache from your database:
- select the point from Point manager
- tap it to display the point detail screen
- tap the navigation menu button from the bottom panel and select Navigate to
2. Start navigation
- the app immediately generates the route by the last used routing profile (activity or means of transport) and opens it in the route planner. You can edit the route, add waypoints or change the routing profile (see below).
- tap the navigation button in the top bar.
- the voice prompt announces the start and starts navigating:
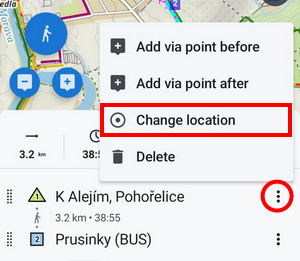
The starting point of your route can be re-defined too, just move it on the map or select another location method from the point menu:
Editing the route
todo box
Changing activity or means of transport
todo box
Recently navigated routes
Go to the 'Recently used' tab. Tap one of the routes, select between navigation and guidance and tap to start. 
If you want to delete the navigation history list, tap red ![]() .
.
Adding via points during navigation
You can add a via point to the route when the navigation is in progress:
- Tap the add-to-route icon the bottom menu:
The point is added to the route.
Custom navigation target for repeated use
- start Navigate to and tap
 :
:

- select custom location in the next menu:

- set the icon and name of the location (home, work, grandma…) and tap
 to select method of defining the target:

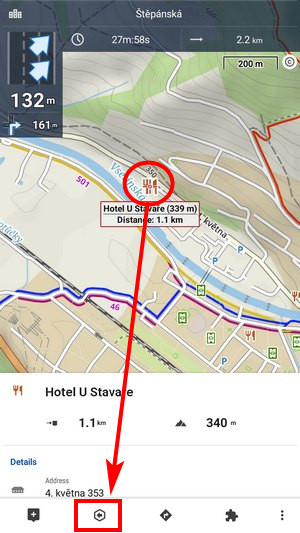
- define your target by showing it on the map, address etc.:

- confirm. Your navigation destination appears among the location selecting methods:

When you start navigation next time, just select the target from the grid.
manual/user_guide/functions/navigation/point-to-point.1712312861.txt.gz · Last modified: by mstupka
Except where otherwise noted, content on this wiki is licensed under the following license: CC Attribution-Share Alike 4.0 International
