Translated from English by gtranslate.io
Sidebar
Table of Contents

The Main Menu and its Settings
Structure
The main menu contains:
- Log in to Locus account
- notification center
- a grid of buttons triggering the most used features
- a button opening the complete offer of the app's features and tools
Locus account
The bar above the button grid shows whether you are or are not logged in Locus account. If not, the log in option is displayed:
 Tapping the “log in” starts the sign-in/sign-up process.
If yes, your user profile avatar, name, and e-mail address are displayed:
 Tapping the user profile name opens details and management of your Locus account.
Notification center
 Here the app informs about ongoing processes - downloading maps, elevation data… and also news from our website (can be deactivated in the settings)

The active process is indicated also by a status icon on the main screen:

Individual items in the center can be swiped away except announcements of special actions that have to be confirmed first.
To clear all items in the box, tap the trash can button.

Feature buttons
By default, the grid contains three rows of buttons triggering the basic functions:

Customization
You can change the number of these buttons and the features they trigger.
Number of buttons
Open Locus settings > Controlling > Panels&buttons > Num of rows in main menu. You can set up to 5 rows of buttons:

Features
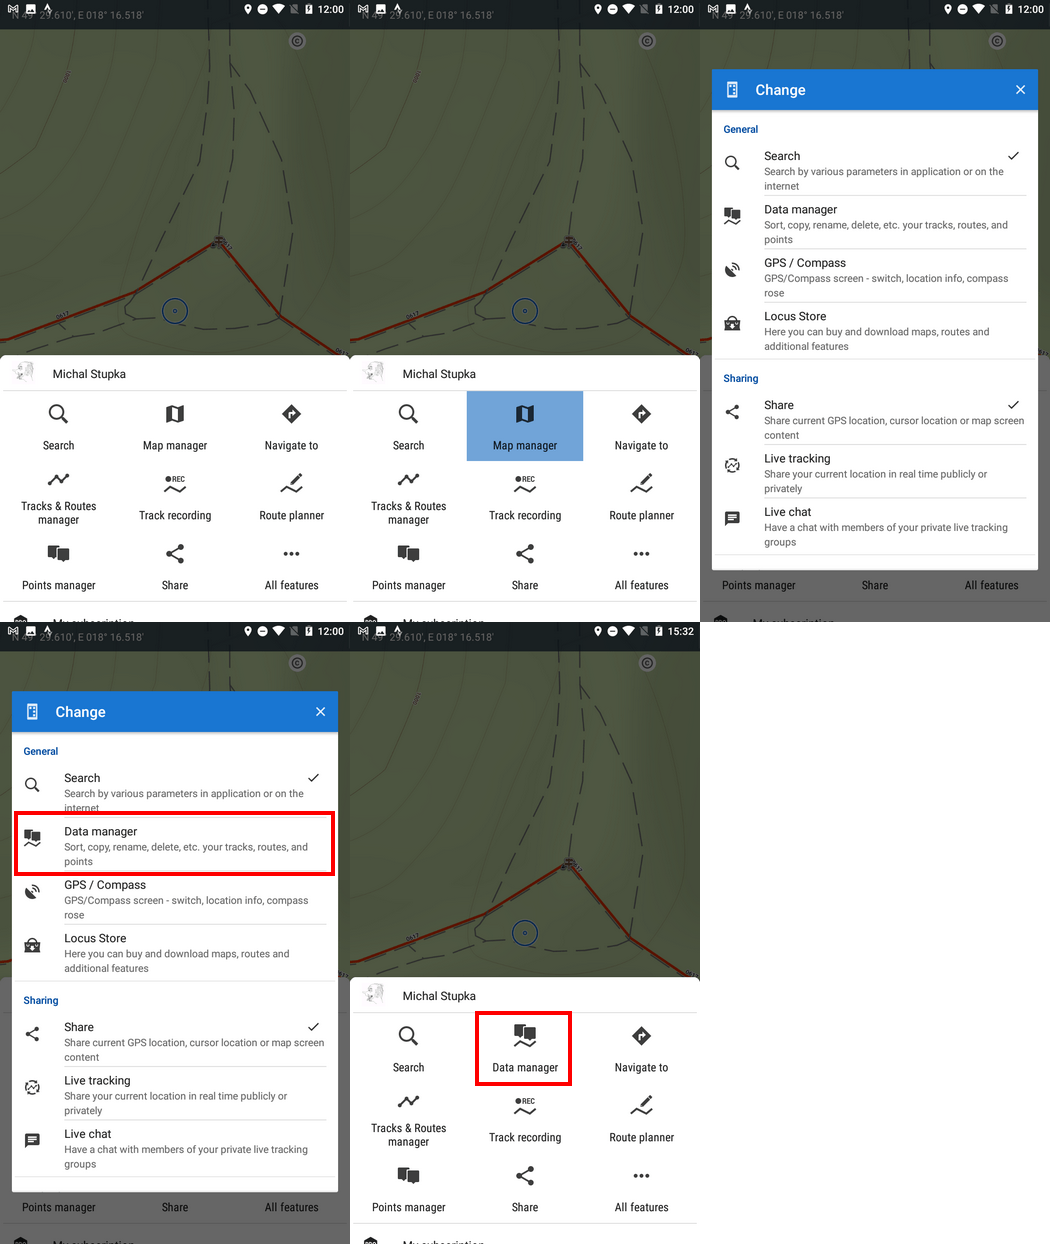
Each button can trigger any feature you need. To change a button's feature:
- long-press the button
- select feature from the list of all features:

All features button
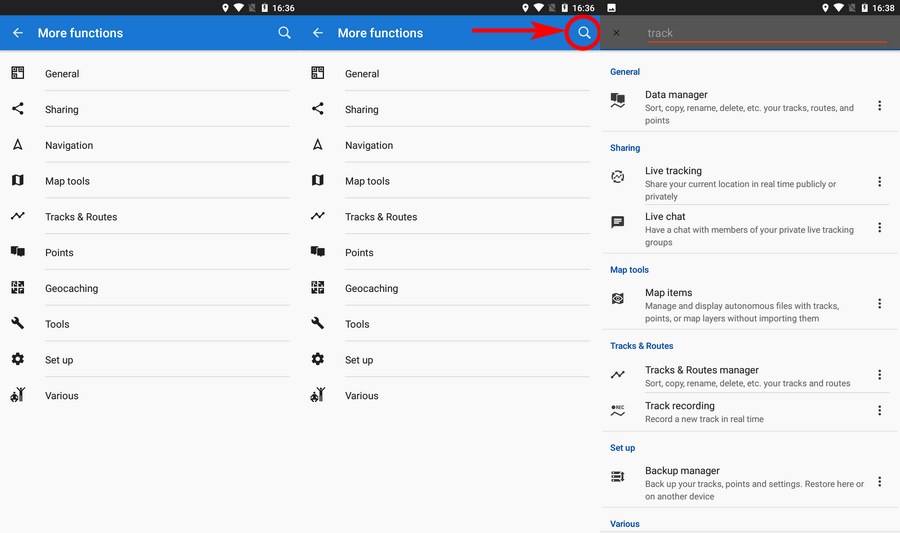
 Opens a list of all features, tools and settings, available within the app, sorted into categories:

More about all features >>
Feature search
To find a feature quickly, use the fultext search in the topbar:

Another scroll up of the menu panel reveals a few more options:

Go Premium
Here you can upgrade your app with Premium features.
When you are a Premium user the section is named My Premium and you can cancel your subscription here or change your Premium plan.
Locus Store
In Locus Store you can download maps, graphics and additional features.
You can put the Locus Store button into the main grid. When you do so the extra button disappears.
About app/Helpdesk
Here you can find help and also all information that didn't fit in the main section of the menu:

- Add-ons - list of all available Locus add-ons. The installed ones are checked.
- Co-apps - list of third party applications related to Locus
- User guide - direct link to this manual
- Helpdesk - immediate help from the developers
- Website - Locus Map homepage
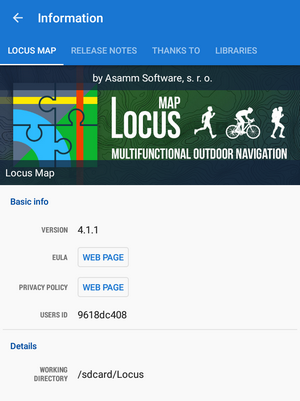
- App info - details for possible troubleshooting: app version, user ID, used working directory, latest release notes etc.:

Settings
General settings of the application.
You can put the Settings button into the main grid. When you do so the extra button disappears.

