Translated from English by gtranslate.io
Sidebar
manual:user_guide:tracks:management
Table of Contents

Tracks & Routes Management
Recorded tracks and planned or imported routes are managed in the Library. Usually, it can be accessed from the main menu:


Sorting
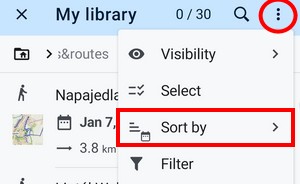
- open the folder containing tracks or routes
- select Sort by from the Library menu. At the first level, you can sort the tracks by name, distance from the cursor location, data/time of creation, and date/time of update:
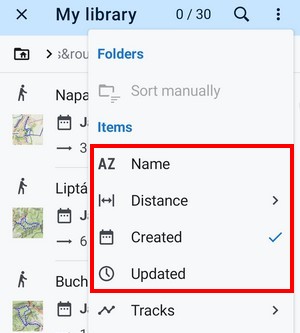
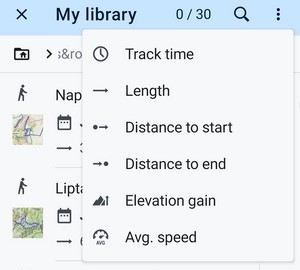
- in the next level you can sort by more track-specific criteria:
Filtering
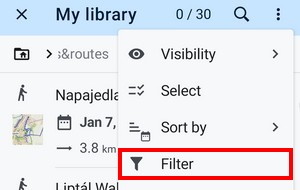
- open the folder containing tracks or routes
- select Filter from the Library menu. At the basic level, you can filter the tracks by the name and date:

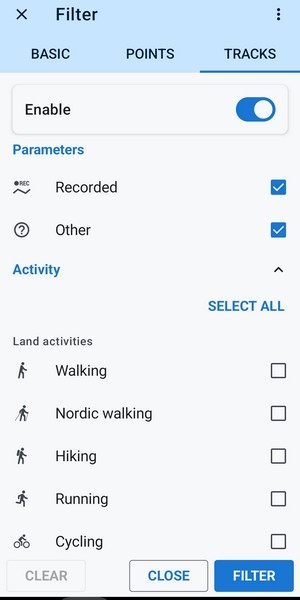
- at the tracks level, you can filter recorded tracks, other (planned routes, imported tracks), and according to the activity:
- tap FILTER to apply the filter. Tap CLEAR to deactivate it.
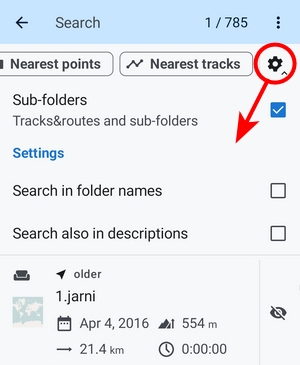
Search

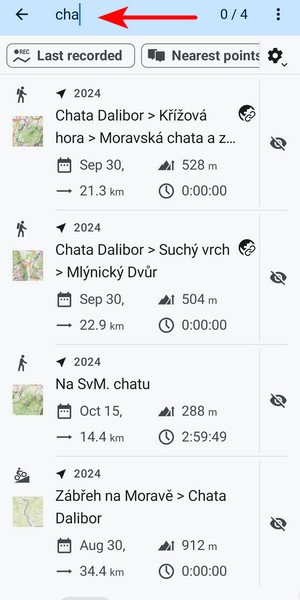
- by default, you can search your tracks and routes by fulltext:
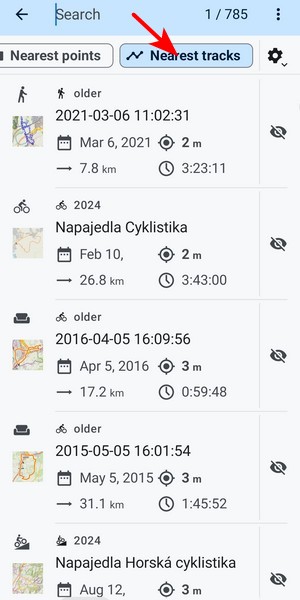
- you can modify the search by the distance:
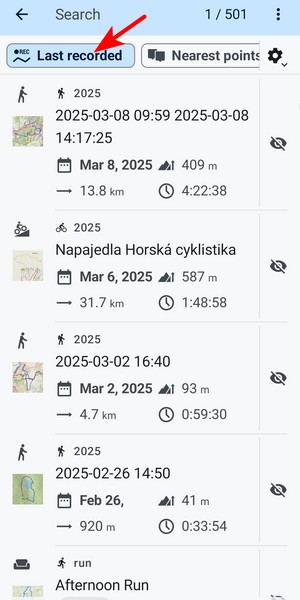
- you can also quickly filter out last recorded tracks:
To search across all nested subfolders, check it in the search options. There are also options to search the folder names and track descriptions:
Bulk operations
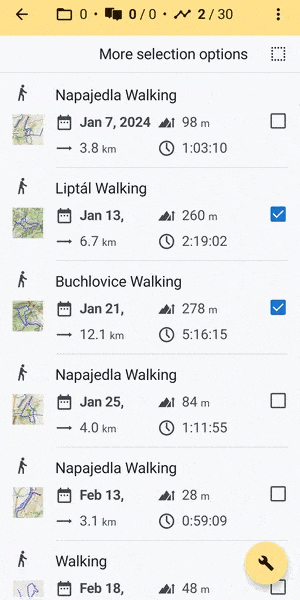
If you need to manage one or more tracks and routes at once, switch the Library into the select mode:
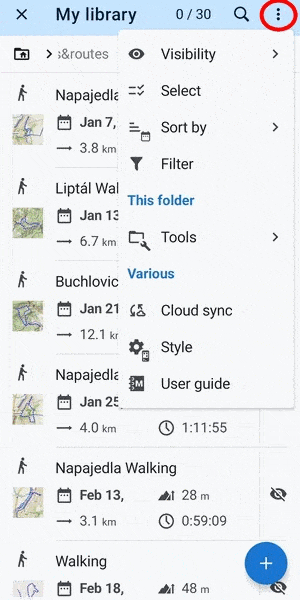
You can also turn on the select mode by long-pressing one of the tracks in the folder.
The tools are available in the menu at the bottom right:
Copying
- check the track/s that you want to copy
- select Copy to from the tool menu
- browse the Library and select the target folder
- tap SELECT

Moving
- check the track/s that you want to move
- select Move to from the tool menu
- browse the Library and select the target folder
- tap SELECT
Export
- check the track/s that you want to export
- select Export from the tool menu
- select the export file format or service, edit the title, path and other parameters if needed
- tap EXPORT

Deleting
- check the track/s that you want to delete
- select Delete from the tool menu
- read the warning - deleting is irreversible and also removes the item/s from all synchronized devices and the web Library
- tap DELETE

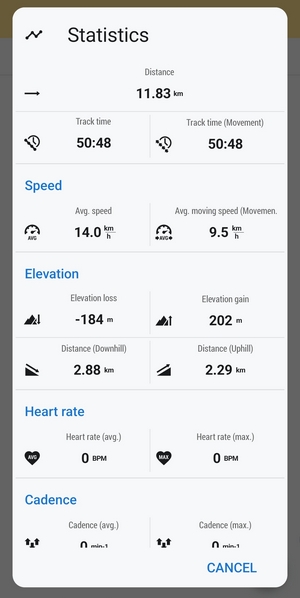
Statistics summary
- check the tracks or routes for which you want to get a sum of statistics - total length, average speed, max speed, total time, etc.
- choose Statistics from the tool menu
Change of style
With this option, you can change the style (line color, pattern, outline, width…) of multiple tracks or routes.
- check the tracks or routes for which you want to change the style
- the style editor opens > change the parameters you need
- tap SAVE
Merging
Multiple tracks or routes can be merged into one. So, for example, if you need to merge multiple-day hike tracks into one going through the whole expedition, use this tool.
- check the tracks you want to merge
- select Merge tracks from the toolbox
- check the order of tracks and change it if necessary. Also, decide if you want to merge with gaps or delete the original tracks:
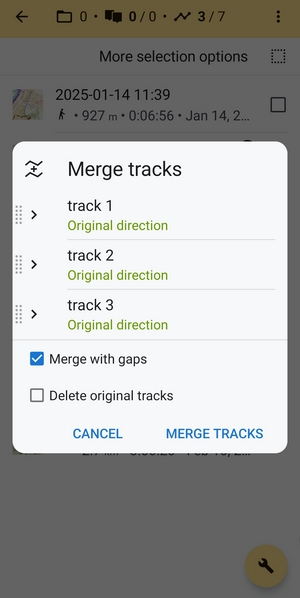
- tap MERGE TRACKS
Track & Route Style
Each track/route in Locus Map has its own color, pattern, width, and other parameters. These parameters can be set at several levels:
General style
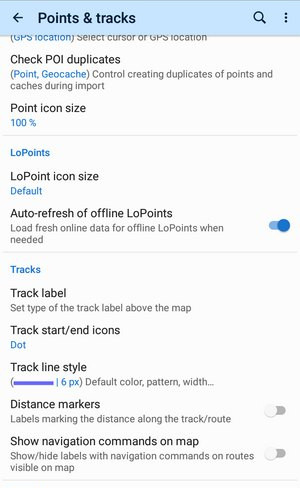
Default appearance of all tracks and routes across the app can be edited in Settings > Points & Tracks > Track line style
These settings can be overridden by following:
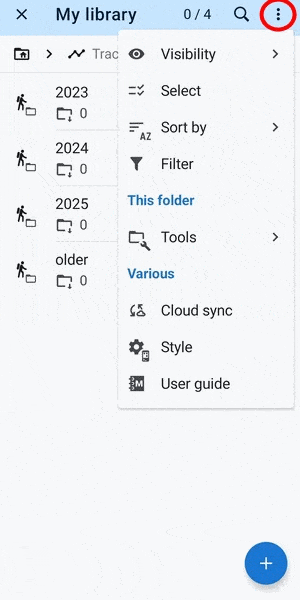
Folder style
Tracks and routes stored in a folder in the Library can have unified style settings. These settings can be edited in the folder tools menu:
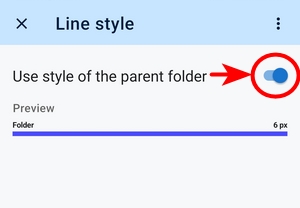
 If you want to preserve the style of the parent folder above the current one, turn on the switch:
Individual style
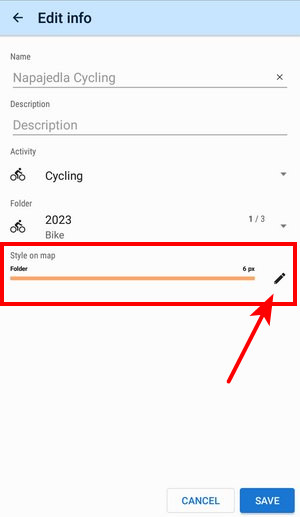
Style of individual tracks or routes can be edited in the track/route detail screen edit dialog:
To activate individual settings you have to switch off the folder settings (by this the style of the particular track/route automatically shifts to the global settings):
Multiple track style change
It is possible to change the individual style of multiple tracks/routes:
- open a folder with the tracks in the Library
- select the tracks for which you want to change the style
- choose Change style from the tool menu
- change style parameters and confirm:

Track recording profile style
The style of recorded tracks can be set according to the used recording profile.
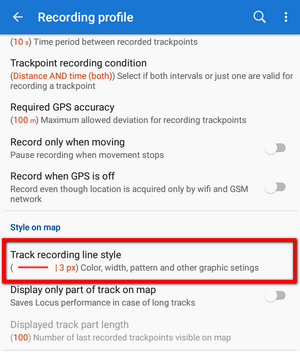
By default, the recording profile style is overwritten by the style of the folder where you store your recorded tracks. If you want to maintain the profile style, follow these steps:
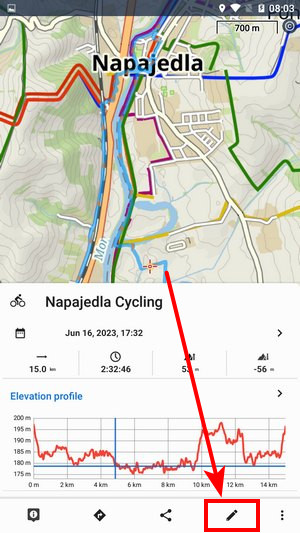
- tap the style line in the track-saving dialog when you stop a track recording:
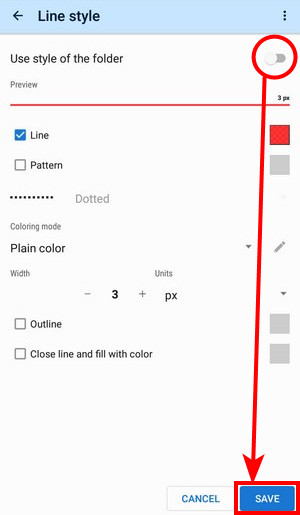
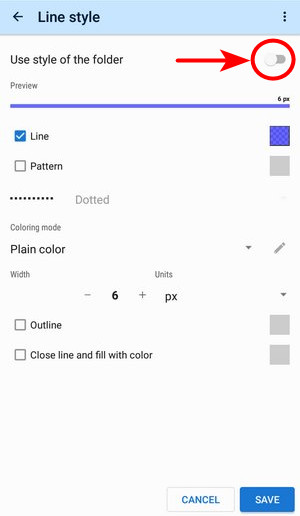
- switch off “Use style of the folder” and tap SAVE
Next time you record a track in this profile, the style will be maintained and not overdrawn by the folder style.
Route planner style
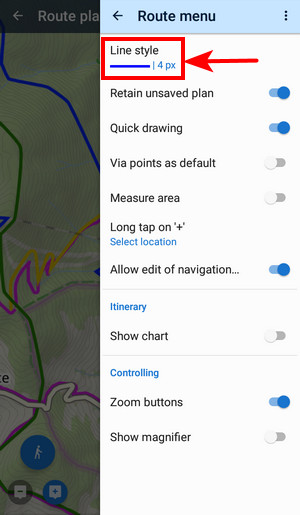
The option of styling route lines is useful, for example when you need to display dynamically slope angle or altitude of the route. Line style editor can be launched from the route planner menu > settings:
 The route planner route style is overdrawn by the style of the folder into which you save your route.
Track/route style summary:
Global style has the lowest priority in the styling of tracks/routes. Folder style, recording profile, or route planner style overrides it. Folder style overrides also the recording profile and route planner style. Each track or route can be finally styled individually.
Style Editor
All buttons editing style on all levels - global, folder, individual or track recording profile - lead here:
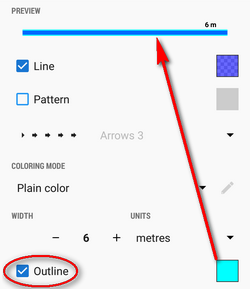
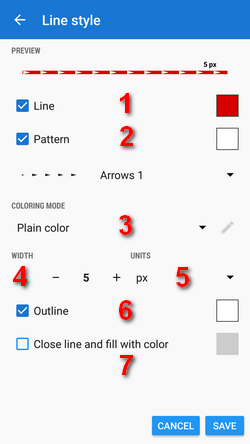 To differentiate among your routes and tracks or adjust their appearance according to the used map you have vast options of styling them - you can adjust the line color (1), width (4), and outline (6), add pattern (2) from a great selection, color the pattern, set coloring mode (3 - plain color or some of the dynamic coloring modes according to speed, elevation, etc.) or automatically close the line and fill the space with color (7).
Line
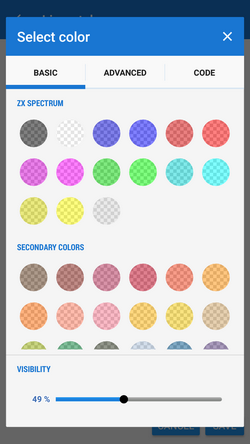
Line (1) can be colored in basic mode,
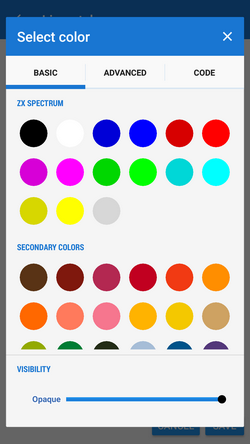
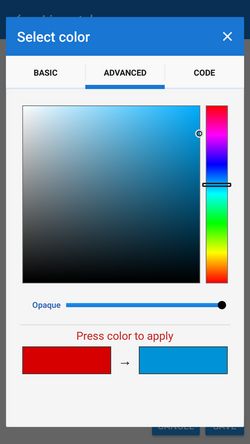
advanced mode with option to pick any of colors provided by your device,
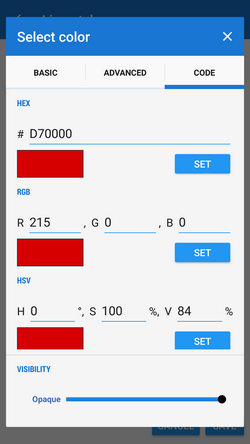
and code mode - just insert HEX, RGB or HSV code of the desired color:
 Its opacity can be adjusted from 100% to invisibility 0%
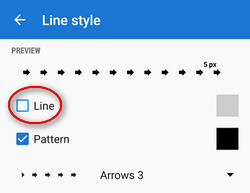
 or the line color can be switched off - only its pattern is visible:
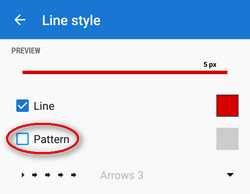
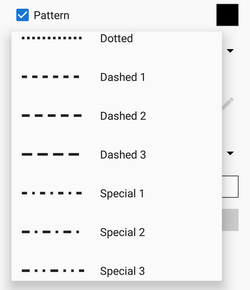
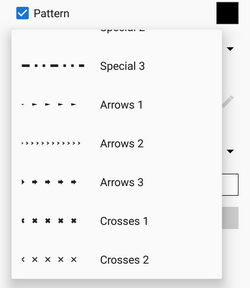
Pattern
Pattern (2) has the same coloring options as the line - basic, advanced, and code, see above. If you do not want to have a patterned line, just uncheck the pattern:
You can select from a vast array of patterns including arrows and crosses:
Coloring mode
The track/route line can be colored (3) by plain color
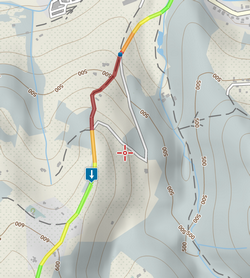
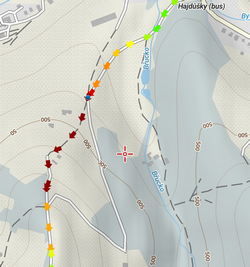
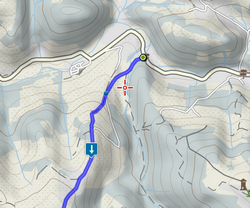
or dynamically - by speed, change of speed, altitude, slope, GPS accuracy, heart rate or pedaling cadence
If you select a dynamic mode and switch line color off, the pattern is colored dynamically:
Width
Width (4) of the track line can be set in pixels (screen related) or meters (real world related)(5):
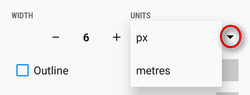
The first option displays the line in the same width across all map zooms. A line 6 pixels wide:
The same line 6 meters wide:
Outline
To enhance contrast of the line from the background map, you can add an outline (6). Coloring options are the same as for the line and pattern.
Close and fill with color
Quite a special feature for highlighting areas enclosed by a track/route (7).

manual/user_guide/tracks/management.txt · Last modified: by mstupka
Except where otherwise noted, content on this wiki is licensed under the following license: CC Attribution-Share Alike 4.0 International
